Did you make award-winning pictures when you got your first camera? Neither did I.
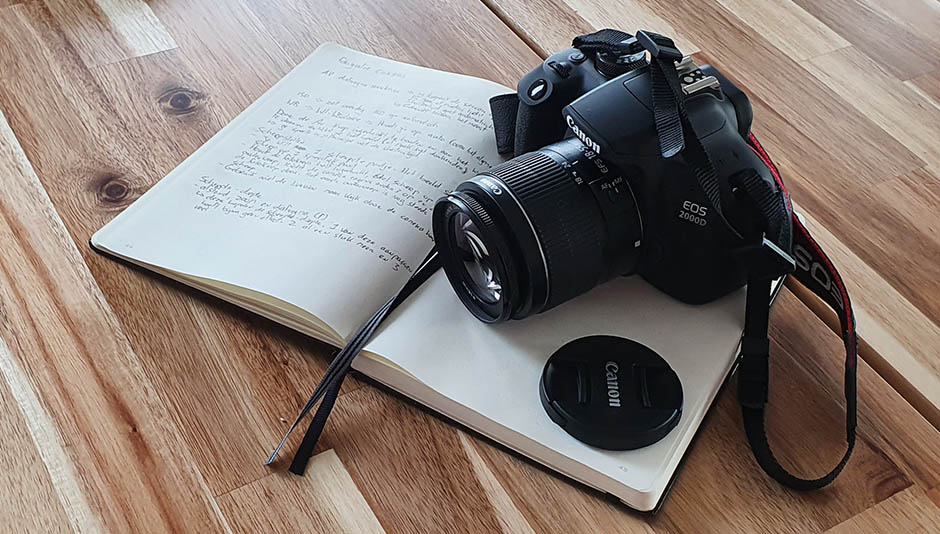
About a year ago I bought my first camera, the Canon EOS2000D with a 18-55mm and a 70-300mm lens. I played around a bit, took a few pictures, and they turned out okay.
About 2 months ago I went to a photography course in Amsterdam by Han Schnek and started understanding cameras and photography a lot better. I no longer use Auto mode and use Aperture- or Shutter Priority instead. The pictures got a lot better and my interest in photography got reignited.
So, what did I learn in this course about photography?
- Why you shouldn’t use Auto mode
- Why you almost never use Manual mode
- What is Aperture Priority (Av) and why use it
- What is Shutter Priority (Tv) and why use it
- The Focus settings
- Making the picture darker or lighter without changing ISO
- Depth-of-field
- Tips (important)
- Conclusion
Do note that I got a Canon camera and thus some of these abbreviations, like Av and Tv, may be specific to Canon cameras only.
Let’s start.
1. Why you shouldn’t use Auto mode
When you decide to make a picture of something, you probably have an idea of what the picture should look like. The camera however doesn’t know what that idea is. Based on the current circumstances it will choose settings in the moment that might be far from what you had pictured in your mind.
Of course there is the possibility to get lucky and get the picture you wanted. But most of the time you won’t. And relying on luck is not something you want. Especially since you often won’t get a second chance to make that one picture due to changing circumstances.
So get off Auto mode and learn to use Aperture- and Shutter Priority. These modes are explained down below.
2. Why you almost never use Manual mode
Manual mode is great if you’ve got the time to figure out the best settings and are in control of all (or at least most) variables like lighting, distance to subject, subject speed, etc. Or if you’re a seasoned photographer who knows the impact of changing settings inside and out.
If you’re in a situation where neither of these points is true, you shouldn’t use manual mode.
3. What is Aperture Priority (Av) and why use it
With Av mode (Aperture value) you are in control of the aperture. Aperture is the part of the lens that you can adjust to let more or less light in. Aperture is displayed as F/4.5, for example.
A lower aperture number means the hole for light is bigger. This is useful when you’re shooting pictures in low light environments. The second thing a lower aperture is wanted for is depth-of-field pictures, in which the subject is sharp and the background is (somewhat) blurry. That way your subject stands out.
A higher aperture number means the hole for light is smaller. This is great to use when you you want both subject and background to be sharp and clear. This is terrible to use when there is not a lot of light, as it will turn your pictures dark. This can be remedied however by using a longer shutter speed.


As you understand, there is a reason why you’d want to be in control of the aperture in (most) cases. But sometimes the aperture is not the most important setting you want control over. Sometimes that might be Shutter Priority.
4. What is Shutter Priority (Tv) and why use it
With Tv mode (Time value) you are in control of the shutter speed (also known as exposure). Shutter speed is the speed with which the picture is taken. You’ll find Shutter speed in your settings as 1/200, for example. This means the picture is taken in 1 / 200th of a second.
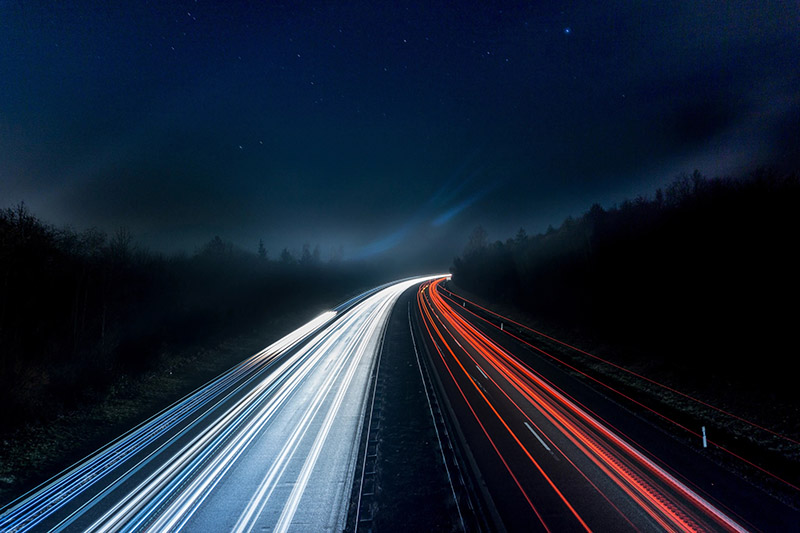
The smaller the number, the longer the shutter speed, the slower the picture is taken. Longer shutter speeds are used for darker environments to have enough light reach the sensor of your camera. It is also used for those cool pictures of cars with their trailing headlights.
The shorter the shutter speed is, the faster the picture is taken. This is great for capturing subjects that move relatively fast. Photographers of motor races use (very) short shutter speeds to capture the motors flying by, for example.

5. The Focus settings
Your camera and probably also your lenses have their own focus settings. Knowing these settings and what they do is important to get sharp images. We begin with the focus settings on the lenses.
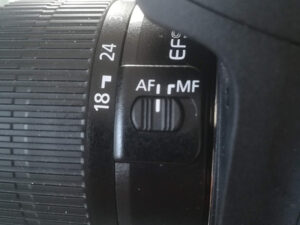 Auto Focus on lenses
Most lenses have a setting on them that lets you Manually Focus (MF) or Auto Focus (AF). When AF is enabled it will automatically focus on the subject that you’re looking at. Doing this by hand is quite difficult if you’re new and/or don’t have a keen eye. So generally you’ll mostly always want to have Auto Focus enabled.
Like lenses, cameras also have settings for Auto Focus. My Canon has 2: AF operation and AF point selection. Let’s go through them.
 AF point selection
The first setting is AF point selection. This setting allows you to choose if you you decide what to focus on or if your camera will choose what to focus on for you. The first option is by having only the middle dot enabled. The second option is will show all dots colored. I learned that you should almost always choose the one small center dot, as multiple dots might confuse the Auto Focus due to differences in distances of the dots and what they’re pointing at. This can lead to the camera not being able to decide what to focus and the moment to take that one picture pass on.
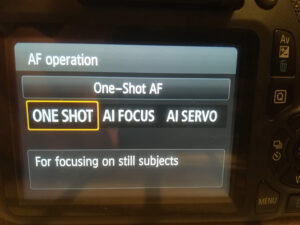 AF operation
The AF operation setting has 3 options: One Shot, AI Focus and AI Servo.
– One Shot is for focusing on still subjects and will only focus once. If you move after the first focus, it will not refocus on another subject you’re looking at.
– AI Servo is for focusing on moving subjects, meaning that when having the shutter button halfway pressed and held, it keeps auto focusing on a moving subject.
– AI Focus is for if the subject moves, it changes automatically from One Shot to AI Servo. This was not recommended by the teacher.
Manual focus
The only time you probably would use Manual focus is for something very specific and you have control over the circumstances.
So important to keep in mind for general use: Enable Auto Focus on your lens and set AF point selection to the one center dot. Set AF operation to either setting, depending on what you’re planning on taking pictures of.
6. Making the picture darker or light without changing ISO
 It happens often that you’re either in a dark or bright environment, or your subject is very dark or bright. You should not change ISO for this, because this may increase artifacts in your pictures. There is another setting that exists exactly to help out in these situations. It’s called Exposure Compensation and looks like this: -3…-2…-1…0…1…2…3
To make the pictures darker you move a marker below the numbers to the left. To make pictures brighter you move the marker below the numbers to the right. How do you do this you ask? The way to do it on the Canon EOS2000D and probably most Canon cameras (and other cameras?) is to hold the Av button next to the screen (not the Av mode on top) and turn the wheel on top. You’ll see the marker move if you got the settings on screen. If you have live view mode on you will actually see the image get darker or brighter when changing the exposure compensation setting.
Do note that the exposure compensation setting works best if Auto Lighting Optimizer is set to Disabled in settings.

7. Depth-of-Field
Depth-of-field is determined by 4 factors. Aperture, zoom, distance to subject, distance between subject and background. You’ll always need to think of all 4 factors to get the picture you want. Just changing one or two of these factors might not have the impact you’re looking for. As aperture is already been explained above. Let’s go through the other 3.
Zoom
By zoom I mean how far you can and are zoomed in with your zoom lens.
Distance to subject
If you’re far from the subject, the background will always be sharp too. If want to have a blurred background so your subject stands out, you’ll need to be close to subject.
Distance between subject and background.
The further the background is from subject, the easier it is to get it blurry and your subject to stand out.
8. Tips (Important)
These are tips we received during the course. Use them as you see fit.
Tip 1.
IMPORTANT: Most people go back to Auto mode after a while because they get tired of looking where to change certain settings. So do this: sit down for a while, play around with the settings and then change them back. Do this a couple of times spread around a few days and you’ll be golden.
Knowing where to find the settings you need to change to make that perfect shot makes all the difference. You’ll never go back to Auto mode again.
Tip 2.
When making pictures of a specific subject, you’ll want to use tele lenses. The background is easier to get blurry and your subject will stand out a lot more. Also use a low aperture to get the finer details of your subject.
Tip 3.
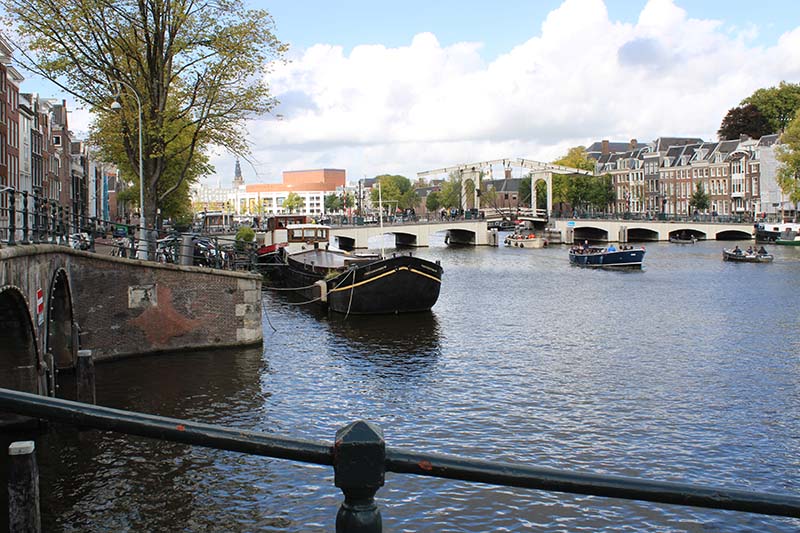
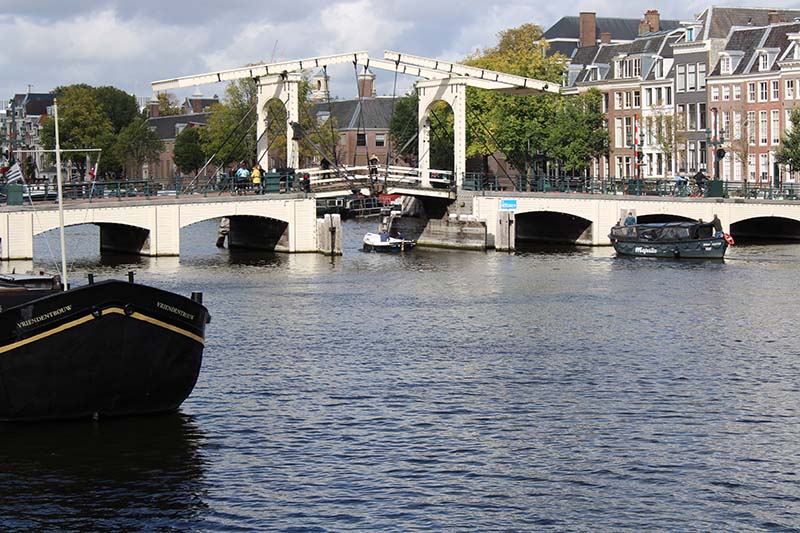
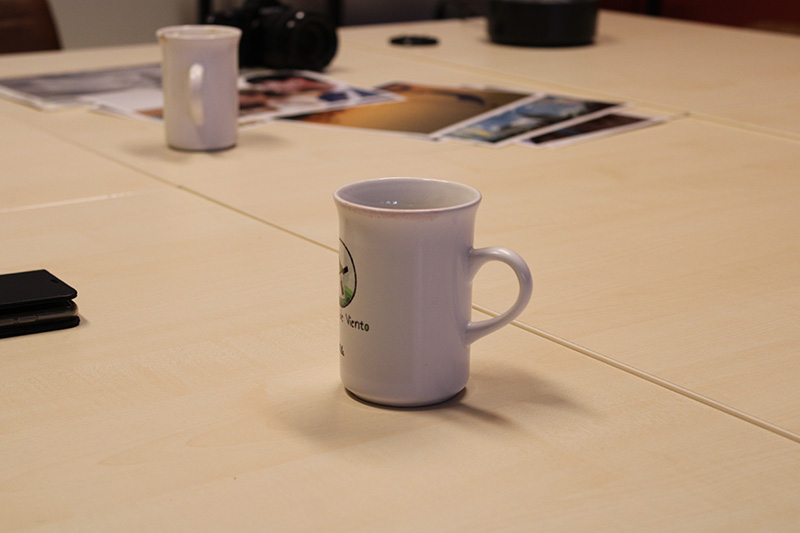
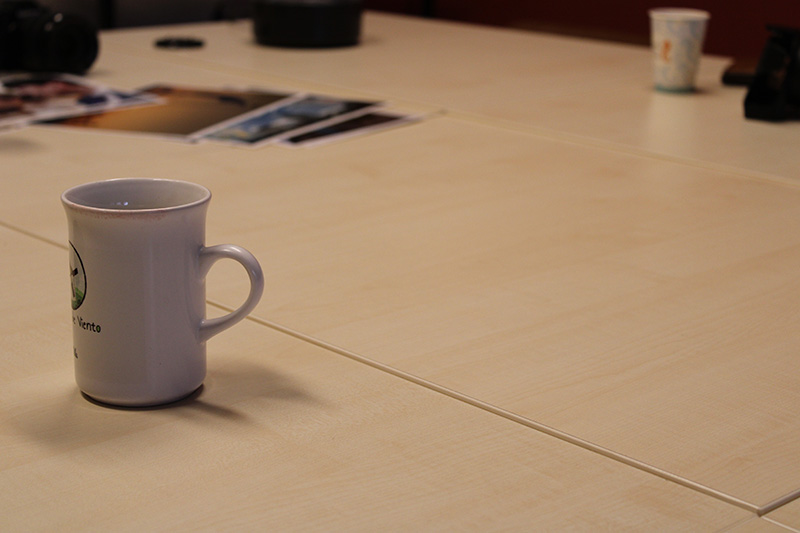
When making landscape pictures you preferably want to use a 18-55mm lens for the wide angle. You’ll also want to use Av mode and set aperture to F11.To create some depth in your picture, make a picture of the landscape with an item about 2 meters in front of you. I shot the the following picture during the course and are a great example.
Tip 4.
With Auto Focus enabled on the lens and the Auto Focus setting on your camera set to One Shot, you can make pictures where the main subject, is not in the middle of the picture. You do this by pressing and holding the shutter button halfway when looking at the subject. Then you move away. The One Shot setting makes it so the distance and Auto Focus is locked in while holding the button halfway pressed. So when you’re looking at the the main subject which is 2 meters away, it locks the Auto Focus for 2 meters. When you then move your camera, with the button still halfway pressed, the Auto Focus does not auto focus anymore. That way you can have your main subject be anywhere in the picture, but still be sharpest.
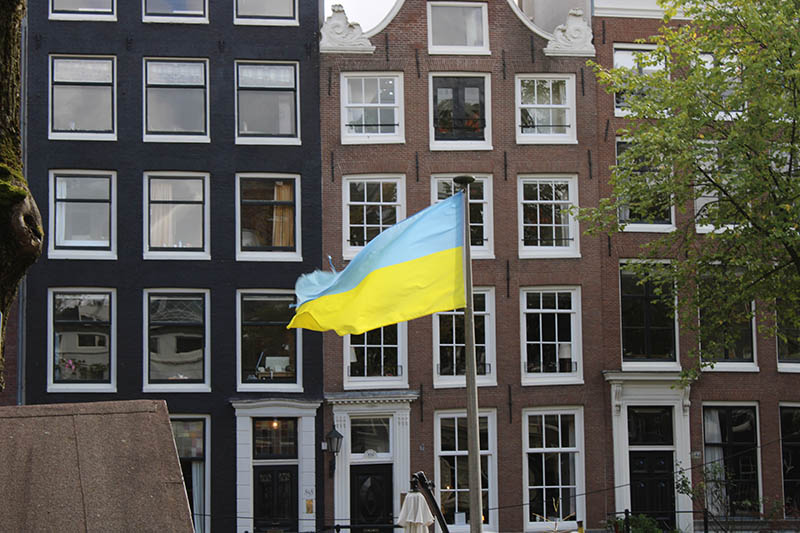
Tip 5.
Shooting towards a light source is not always a bad thing. You can use the light coming from the front to make beautiful pictures of subject that slightly let some light through. Here are a few examples.

Conclusion
Am I shooting award-winning pictures now? No. But they’ve gotten so much better, it is like a day and night.
Before we end this post..
Now I’ve got a few questions for you.
Were any of these lessons and tips useful for you? If yes, then that makes me happy! If not, then please share your advice and tips. Me and a looot of people would love to learn from you too!
Please let me know in the comments!